I swear I didnt forget about my blog...really! I didnt!
Busy time are here, and I havent had time to craft, or think...but I do have some crafts on que...so stay tuned!
Thursday, September 29, 2011
Wednesday, September 21, 2011
Here's a story...
My, Oh My...I've been a bad blogger!
Its been 3 days since my last confession...I mean post ;)
Its been 3 days since my last confession...I mean post ;)
I've been busy...
Not with crafting though, unfortunately...with LIFE.
My Brother-in-Law got us ticked to the Monster Truck show that came to my town.
Not with crafting though, unfortunately...with LIFE.
My Brother-in-Law got us ticked to the Monster Truck show that came to my town.
LameSauce.
Seriously, it sucked.
They had advertised all these big named trucks...and yeah...none of them were there.
Sure, they were cool looking, but Eh, too loud.
Sure, they were cool looking, but Eh, too loud.

Its sad that I went to a Monster Truck show, and the highlight of my weekend was getting a Brita Water Filter Pitcher....
Sad right?


Aside from the exciting times mentioned above, we had some not-so exciting times....
Fixing Cars.
Fixing Cars.
My husband car quit working, and at first we thought it was the starter (EEK!)
But it ended up just being a dead battery..THANK GOODNESS!
So naturally, my son had to go out and help :)
But it ended up just being a dead battery..THANK GOODNESS!
So naturally, my son had to go out and help :)

While they were doing their 'Manly bonding' over the engine of the Mustang...
I went inside and taught myself how to Knit.
Yes, Knit.
I went inside and taught myself how to Knit.
Yes, Knit.
I can't claim it was pretty...Infact...it was down right AWFUL!
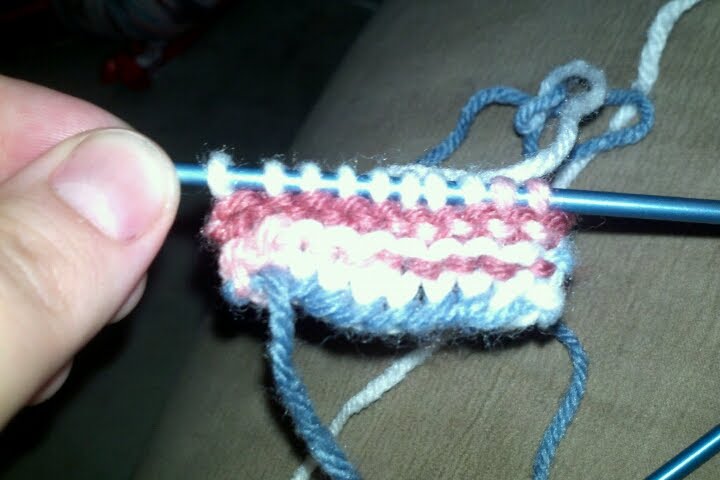
BUT! I did get better! See?

Now that I have the basic stitch down, its time to learn some other ones...Oy Vey!
And now to the highlight of my Son's weekend/week...
He finally got the courage up to hold my sisters' bird, Jazzy.
He finally got the courage up to hold my sisters' bird, Jazzy.
Him and Jazzy were like peas and carrots by the end of the night.

The End.
Friday, September 16, 2011
Another Salsa post? Yes? No?
Too Bad, You're getting one.
Why?
Because I had about 10 emails after the last salsa post, asking to elaborate on my process, and recipe.
So here we go. Ready?
Because I had about 10 emails after the last salsa post, asking to elaborate on my process, and recipe.
So here we go. Ready?
Ok, so here are my Ingredients:

28oz can crushed tomatoes
3 cloves of fresh garlic
(dont go using the canned stuff)
(dont go using the canned stuff)
1/2 of a Yellow Onion
4 Jalapenos
4 Jalapenos
1/2 tsp black pepper
1tsp salt.
hand full of fresh cilantro
hand full of fresh cilantro
Cut the tops and tips off of the Jalapenos, and take out the seeds and as much as the veins as you can (Thats where the heat is...if you like it hotter, keep them in)
Then cut them into big pieces, as well as the onion, and put them in the food processor.
I also put in some of the crushed tomatos, just to give it some liquid to work with, but I didnt take a picture of that, sorry. BAD BLOGGER!
Then cut them into big pieces, as well as the onion, and put them in the food processor.
I also put in some of the crushed tomatos, just to give it some liquid to work with, but I didnt take a picture of that, sorry. BAD BLOGGER!

Blend it all up, then dump it into a bowl, then onto doing the same thing with the Garlic and Cilantro and the rest of the crushed tomatoes.
(I had to do this in 2 steps because I have the worlds smallest Food processor...if you have a big one, feel free to do it all at once!
(I had to do this in 2 steps because I have the worlds smallest Food processor...if you have a big one, feel free to do it all at once!
So when you get it all finely chopped up, put in the salt and pepper.

Then stir it really well.
You can eat it right away, but I like to let it sit in the fridge for atleast a few hours to let all the flavors combine. Overnight if you can resist!
You can eat it right away, but I like to let it sit in the fridge for atleast a few hours to let all the flavors combine. Overnight if you can resist!

So there, there is my Salsa making progress....so quit reading, go make it!
Thursday, September 15, 2011

Amanda P's Super Soft Sugar Cookies
My sister is an amazing Baker.
Well, I should say she is an amazing Homemaker..she is my exact opposite!I had asked her a few days ago if she was willing to 'give up' her secret recipe of her cookies for my Blog...
I was jaw-dropping ASTOUNDED when she actually said Yes..
So here we go. Roll up those sleeves, put on that apron(wtf is that?)
And lets get making..
Amanda P's Super Soft Sugar Cookies with Homemade Frosting!
First you need to gather your ingredients for the dough...they go something like this
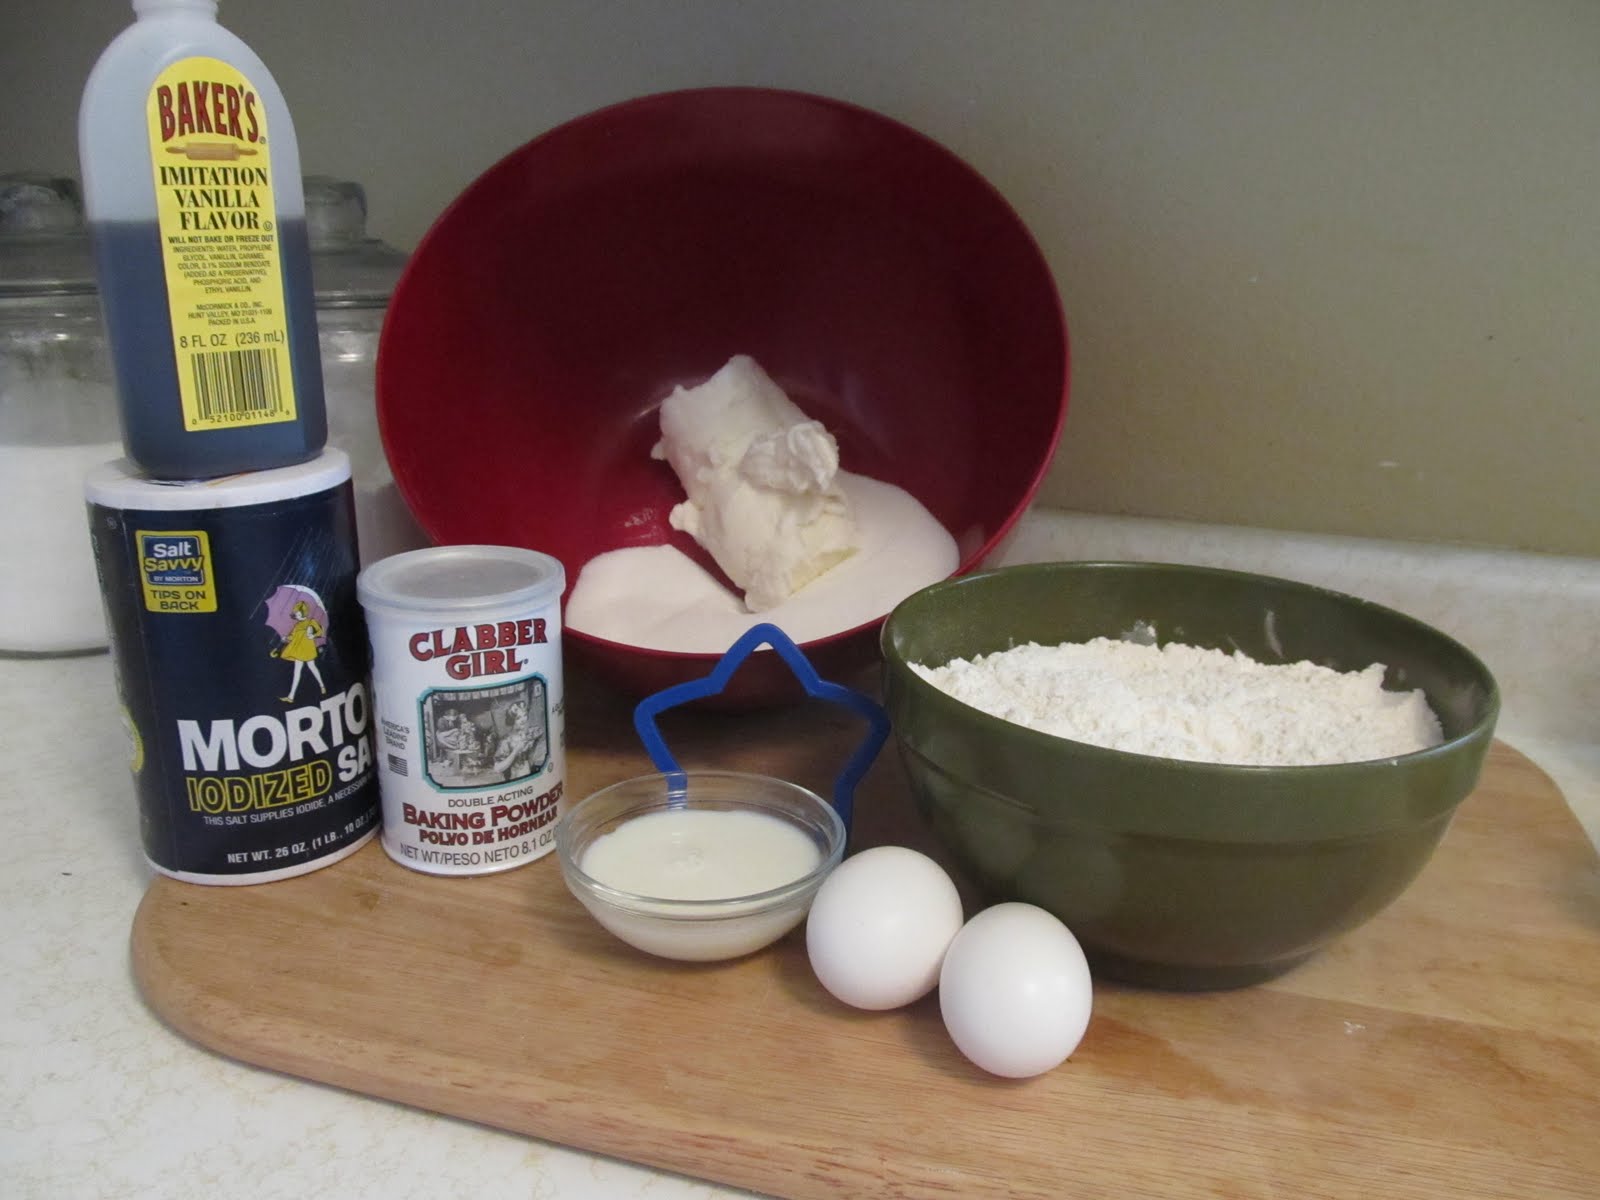
2/3 Cup Crisco
3/4 Cup White Sugar
1 Tsp Vanilla
1 Egg
4 Teaspoons Milk
2 Cups Flour
1 1/2 Teaspoon Baking Powder
1/4 Teaspoon Salt
Now, lets get that dough put together!

Preheat oven to 375 Degrees
Cream Together Crisco, Sugar and Vanilla until well mixed. Add Egg - Beat until light and fluffy. Stir in Milk and scrape bowl
Sift together dry ingredients and add half at a time, beating well after each addition.
Form into two balls and refridgerate for atleast 1 hour - or you can roll out immediately, which is what I do.

Roll dough out on a floured surface until about 1/4 inch thick, cut with your favorite cookie cutter and place on a greased cookie sheet.


She was feeling all starry-eyed when she made these, so Stars it was!

Bake until very lightly golden brown around edges - time depends on your oven. I've never timed them, I just watch them and pull them when I feel they are ready
(So what she is saying here, is that she doesnt want to give away her secret! haha)
I would say though, about 8-10 minutes....just keep an eye on them!
(So what she is saying here, is that she doesnt want to give away her secret! haha)
I would say though, about 8-10 minutes....just keep an eye on them!


See? that wasnt too hard, right?
Now lets do the Frosting...which is the best part of the whole cookie, right??
Gather up those ingredients, folks!

Vanilla Buttercream Frosting
1/2 Cup Crisco
1/2 Cup (1 Stick) Butter - I use Imperial
1 Tsp Vanilla
4 Cups Powdered Sugar
2 Tablespoons Milk
K, Ready?

Cream together Crisco, Butter and Vanilla. Add Powdered sugar - Mix well, it will look dry but then you add the milk and mix well.

At this point you can separate and color in different glass bowls or just leave white for frosting. Frosting will set up the longer its left in the fridge, Cover with a damp paper towel and leave in the fridge until ready to use.
Now that we're all baked up, its time to get to frosting those bad boys!


And tell me...what would frosted cookies be, without SPRINKLES!!!

And there ya have it...Super Soft Sugar Cookies.
These were AMAZING!!

I only had One....trust me.........
.
.
Wednesday, September 14, 2011
Frame O' Eyes
I love Halloween.
I dont know if you have noticed, I've only mentioned it once or twice..I think...Anyway, I was browsing on my favorite site (Pintrest) and saw a super cute frame idea.
I couldn't resist copying it! (Naturally!)
So while I was on a run to Wal-Mart to get some medicine for the MAN COLD that has invaded my house, I thought I would stop by the craft section, and see what I could find.
And I found just what I needed!
Frame
Wiggly Eyes
Wooden Letters
I already had the paper from a previous project.
So, Away we go!

What would a Handie Brandie project be wthout Mod Podge,so naturally I put the paper on with Mod Podge, then used my exacto knife to go around the edges.

Then I poured out both bags of the Wiggly Eyes (or Googly eyes, as I have wanted to call them all day!)
I got the Medium and small sizes.
I got the Medium and small sizes.

Then one, by one, by freaking ONE. I super glued the eyes onto the frame.
This. Took. FOREVER.
Really...probably 30-45 minutes.
Which is a long time with you face thisclose to super glue.
Im pretty sure I'm still high.
haha, Kidding! Kind of.
Which is a long time with you face thisclose to super glue.
Im pretty sure I'm still high.
haha, Kidding! Kind of.

After a while, I enisted help...small 4 year old hands.

He had to inspect it...just to make sure I was doing it right!

Eyes are finished!!

Now for the letters. On the one I saw on Pintrest, the letters were made out of Chipboard that she cut out on her Cricut...but well, I didnt have Chipboard, and was too lazy to find some..
Wooden letters it is.
Painted Black.
Wooden letters it is.
Painted Black.

Then I added some Ribbon to the bottom of the frame. Orange, naturally ::)
Hot glued the letters on the ribbon, and VOILA!
DONE!!!
DONE!!!

This is seriously my most FAVORITE project I've done. Yes, there is quite a bit of my DNA stuck on the frame...darn super glue. But its so cute, yet creepy....Perfect for Halloween!!
Whatcha think?
Tuesday, September 13, 2011
Coming Soon, to a blog near you...

Amanda P's Famous Super Soft Sugar Cookies w/ Homemade frosting
Sprinkle Rack!
More fun Halloween Craft ideas!
More fun Halloween Craft ideas!
Thanksgiving Decoration Crafts! WOOHOO! Love me some Fall decorations!
Stay tuned, folks!
Monday, September 12, 2011
Skeletor!!!!!
I was fiddle farting around on the internet yesterday, and came across this awesome idea for a fun Halloween Craft for the kidlets (with Adult help too, of course)
Just follow these steps, and you'll come out with an adorable Skeleton made out of your name!
What?! Dont believe me....Well...keep going, you'll see!
What?! Dont believe me....Well...keep going, you'll see!
You will need the following: 8x11 white paper, black construction paper, pencil, scissors, glue.

Got those? Yes? OK great, lets move on
Fold the white paper in half long ways.
On the fold, as close as you can possibly get, write your name in cursive writing..the loopier the better.I would say try and make it atleast an inch high....of course the first letter being bigger than the rest.

When you have it how you want it....Cut it out. As close as you can to the lettering. It doesnt have to be perfect.

After you cut it out, open it up! You should have something that looks like this.......only with YOUR name, not my sons!

There! now you have a backbone!
Lets move on to the rest, shall we? Yes, we shall!
Lets move on to the rest, shall we? Yes, we shall!
Out of the same piece of paper, on the crease, cut out something that resembles a skeleton head...I dont have a template for this, I just kind of free handed it.

Then on the fold of the head shape, cut out the nose and mouth.

Then take the larger upper piece of the head and fold it in half again...and cut a semi-circle out for the eyes.

When you unfold it all, it should look something like this:

Now its time to cut out the arms and legs. I free handed these, again, just wing it...it doesnt have to look perfect!

Lookie there! Ain't he cute?!
Now just glue him down on the black construction paper, and you're done!!
Now just glue him down on the black construction paper, and you're done!!

OR...are you?
I wasnt...I wanted mine to have a little more flair, I suppose
I wasnt...I wanted mine to have a little more flair, I suppose
So I cut the black construction paper around him with some pinking shears...

Then I put him on some ORANGE construction paper, just to give it a little flair.

and wrote a little message :)

Then, I did something kind of stupid....I put a layer of Mod Podge over it. He wasnt sticking down as good as I wanted....
He wrinkled up :( Skeletons don't have WRINKLES!!
Oh well...when all was said and done, he turned out SUPER cute!
(Even if my husband says it looks like a Monkey Skeleton...which yeah, it kind of does! lol)
(Even if my husband says it looks like a Monkey Skeleton...which yeah, it kind of does! lol)

Subscribe to:
Posts (Atom)